
iSentrol HATDS Home Assistant User Manual
This user manual provides detailed instructions for installing and configuring the iSentrol HATDS water flow sensor module for Home Assistant integration.
Video Instruction
Watch the YouTube video guide for visual installation instructions:
https://www.youtube.com/watch?v=1ddlPa6tdHM
Important Notes
Recommend to use of a standard 5V 1A charger; not compatible with fast-charging heads.
The power supply is Type C.
Products should ideally be used in the shade, as their shells, made of resin material via 3D printing, exhibit a characteristic that renders them susceptible to irreversible yellowing upon prolonged exposure to sunlight and ultraviolet radiation.
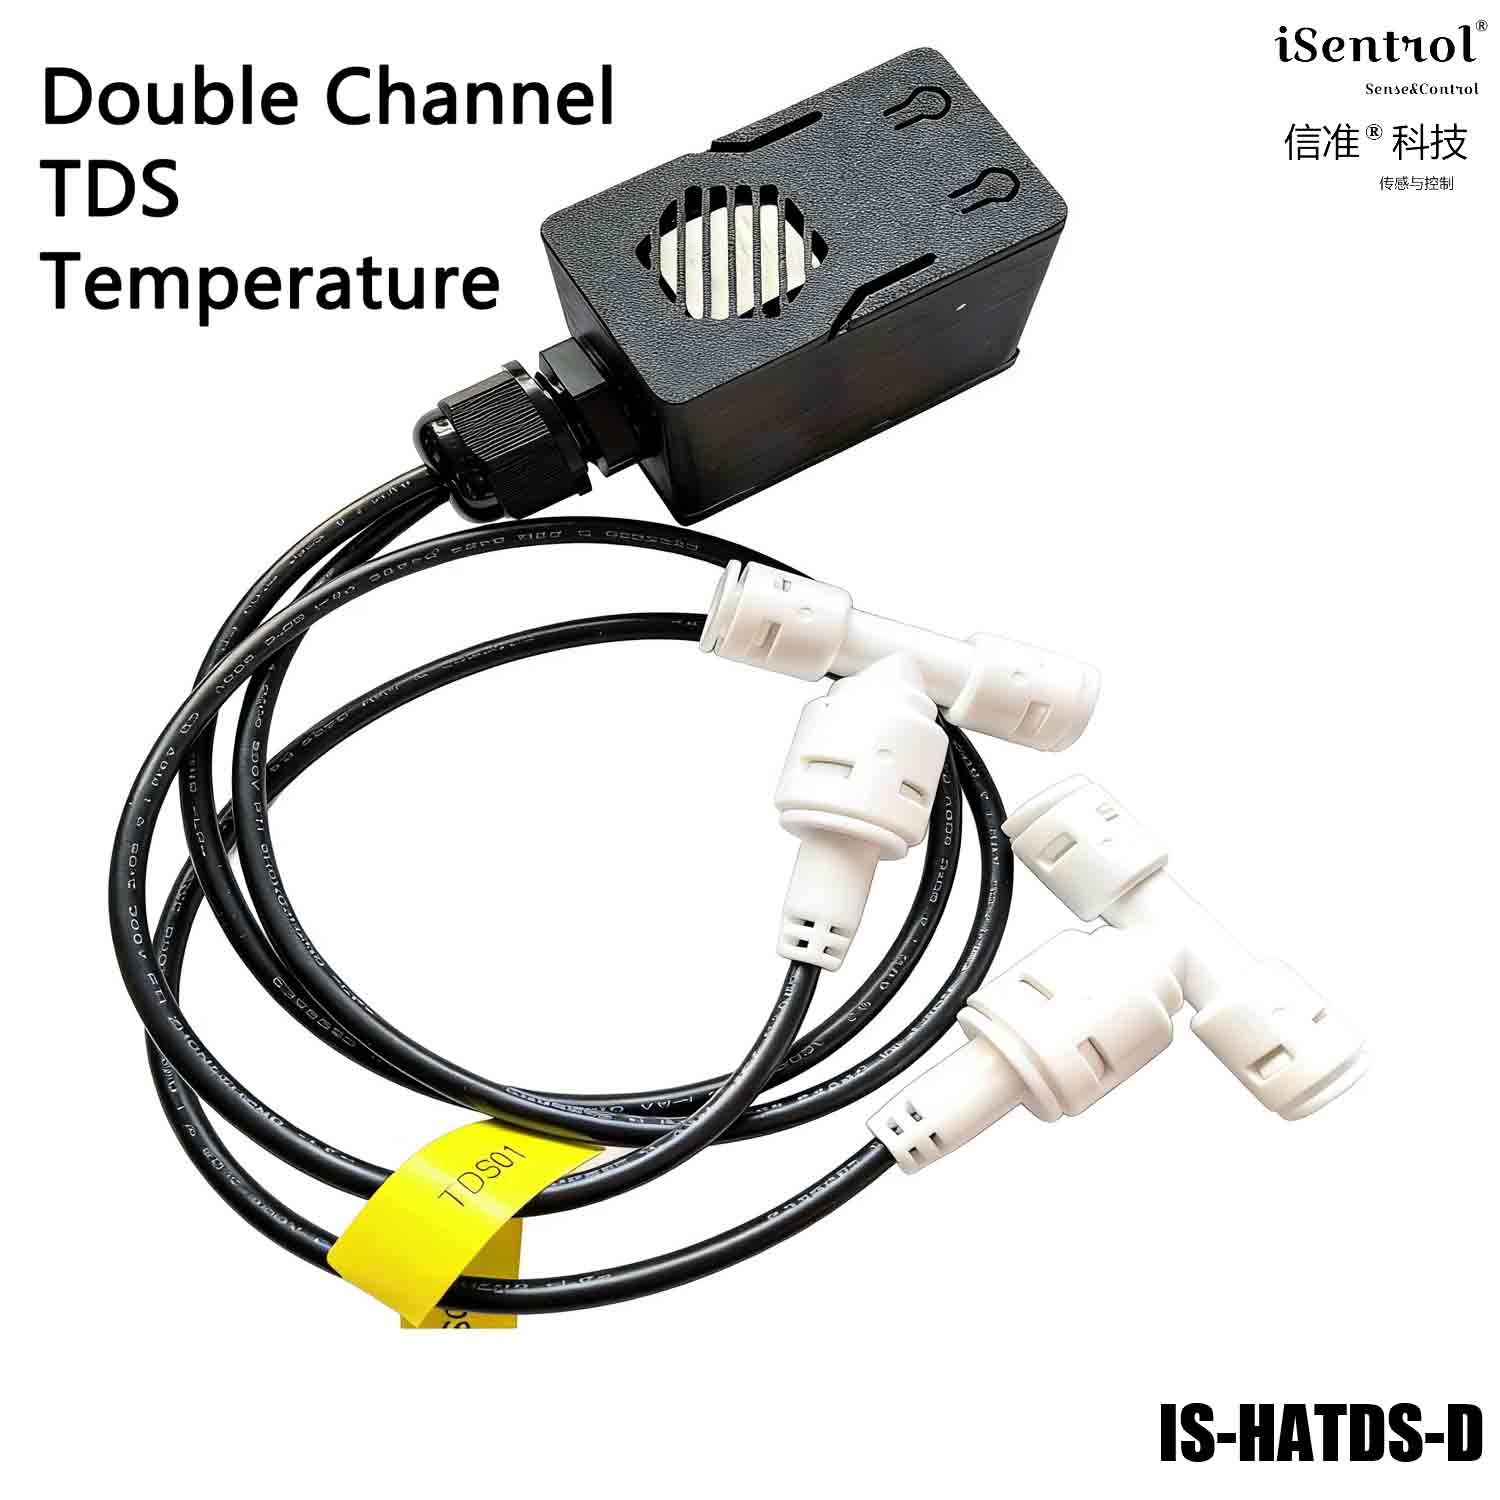
Installation Instructions for Water Flow Sensors
Refer to the arrow directions on the sensor to determine the direction of inflow and outflow.
If installed after the main water supply line, a pre-filter or filtration net must be placed in front to prevent damage over time.
Backend System Configuration
Step 1: Initial WiFi Hotspot Setup
Upon initial powering up, the module will automatically emit a Wi-Fi hotspot after a 1 minute wait named "iSentrol HAFS V2 Fallback".
Connect your mobile device's Wi-Fi. No password needed.
Step 2: Access Configuration Interface
If the configuration interface does not pop up automatically, open your mobile browser and enter http://192.168.4.1 or http://192.168.4.1:80.
On the following page, locate your 2.4GHz Wi-Fi network and input the password.
Click "Save" to connect.
Important: If your router uses both 2.4G and 5G bands in unison, separate them first before attempting to connect.
Step 3: Access Device Control Page
After successfully connecting to Wi-Fi, log in to the router's backend to view the IP address of this device.
Access the device through your browser using the IP address, such as http://192.168.1.20 or http://192.168.1.20:80.
Note: Certain browsers enforce HTTPS by appending it to the URL, thereby preventing access to devices. Please utilize HTTP instead.
Additional Tips
One minute without WiFi connectivity will automatically activate the hotspot function to facilitate your switch to WiFi.
It is recommended that the IP address of fixed devices be set in the router's backend, with subsequent access via the browser to this address for configuration.
If you cannot access the router's backend to view device IP addresses, you can use a local area network IP scanning tool on your computer to find the device IP.